Installation using ISOFIX attachments
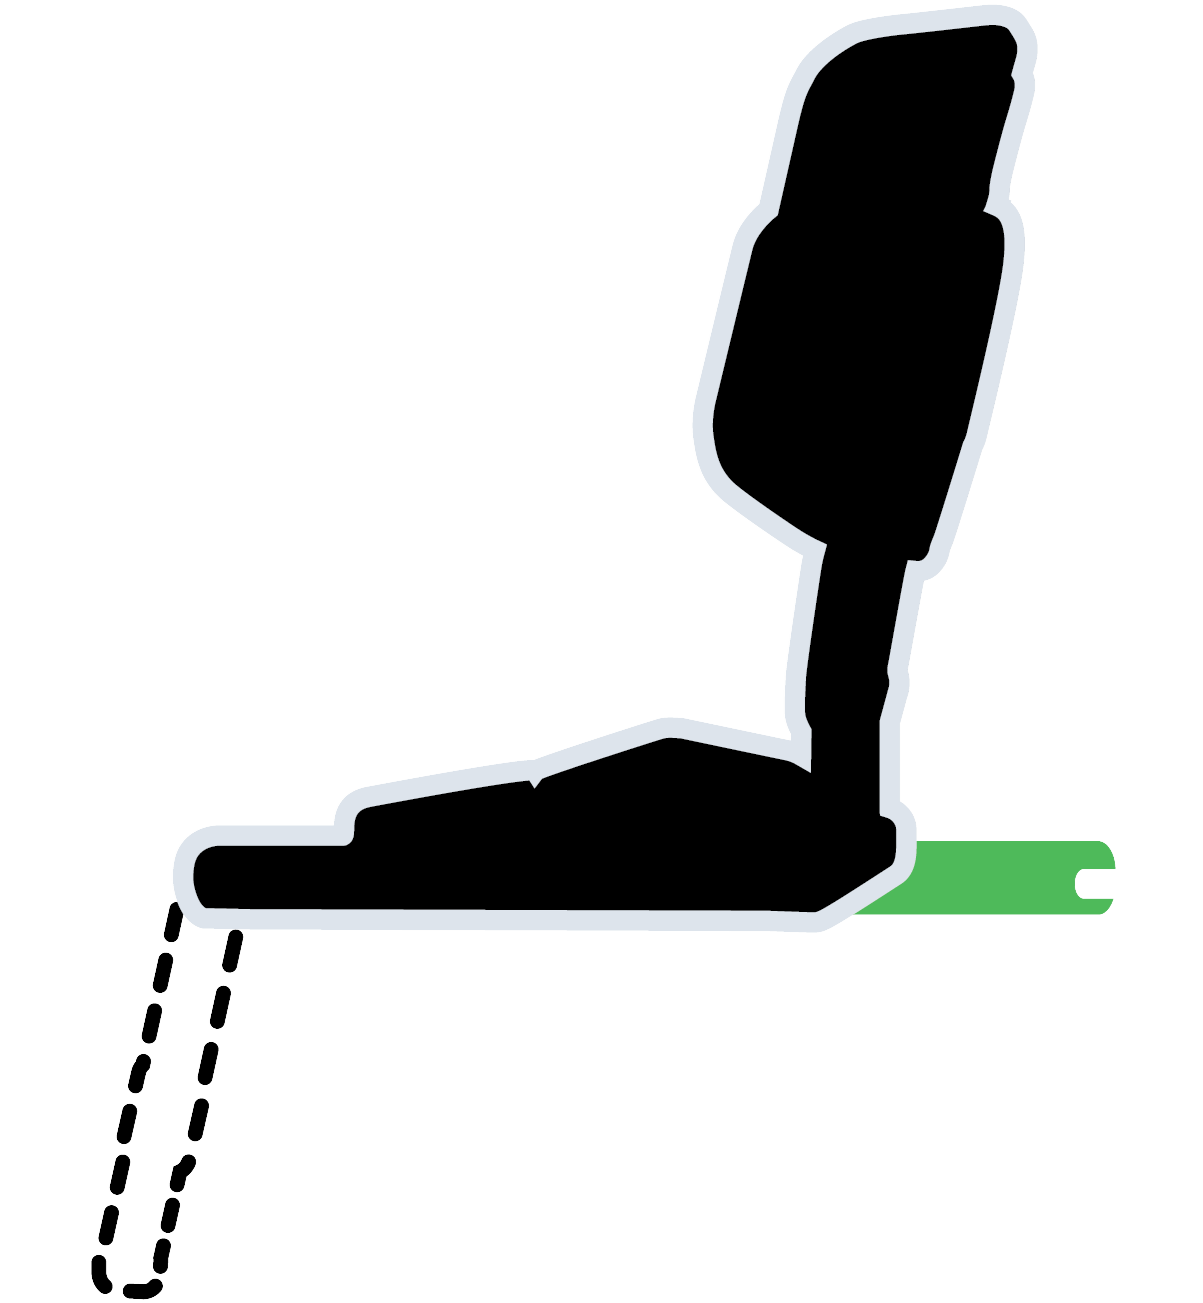 |
Using ISOFIX without support leg If the vehicle is fitted with ISOFIX attachment points but the vehicle floor does not support the use of a support leg, the Axkid Up Car seat can be installed using only the ISOFIX attachments. « Choose installation method |
|
Press both ISOFIX adjustment buttons (J) on each side of the car seat and slide the ISOFIX arms out of their storage compartments, extending both ISOFIX connectors (H). |
|
Place the car seat onto the vehicle seat and attach the ISOFIX connectors (H) to the ISOFIX attachment points in the vehicle. Confirm that the indicators (I) on both ISOFIX connectors has turned green. |
|
Fold up the back support until it clicks into place. Push and wiggle the car seat firmly against the vehicle backrest. The ISOFIX-connectors on each side will click repeatedly and thereby tighten the fit towards the vehicle backrest. Make sure there is no gap between the base (U) and the vehicle backrest. |
|
Pull out the vehicle seat belt and route the shoulder belt through the upper belt guide (M) and the lap belt under the lower belt guide (Q). |
|
Install the ASIP pad (N) on the side of the car seat closest to the vehicle door. Align the ASIP pad attachment with the ASIP holder and attach it by pushing and rotating it into place. |